"Memory" Installation has been updated, the previous installation was made randomly with the films and wires, so I thought to improve the artwork within grid system.


First of all, here are 2 videos of our installation art, one of the video was recorded and edited with the theme we have-"Memory" Enjoy.


Some pictures of the installation artwork
So, after all, I've got some feedback from different people about the previous installation artwork, such as, the artwork space is too small, and the artwork is too off-the grid. I agree that the previous work is off-the grid, so I decided to develop the work with designing the grid system first and plan everything before the practical work and connecting the films and wires randomly.
So I gave myself a bit more challenge this time, I chose a location where's a bit dangerous but an obvious space to be seen.

Here's the sketch of the artwork's plan, so this time, I wanna create my own grid system in a cube a bit similar as the beginning idea, although this time the cube's created with wires instead of chopsticks, and bigger; a cube has 6 sides and 12 lines connected, so I designed different grid layout on each 2 sides, and each 2 sides are the same layout as the reflection of a mirror, there are front and back sides, left and right sides, top and bottom sides(as the second page on the right)
For making the cube, I needed 12 same length wires, so each wire is 80cm; the stripes to create the layout on the sides are going to be films in wires, 2 stripes on each side. And we are going to create an inbox grid system by cross connecting 2 stripes on each front&back, left&right and top&bottom, so we need 18 more same-length wires(with films on the wires)


Here's a sketch of the installation art space, I picked the atrium to hang the installation art, it's got 4 levels with the ground floor, so the work will be in the middle of the atrium with a long thick wire, and it will be on the top level; it is a very challenging space, the distance between is very long, and the solutions of hanging the artwork were a few, 1 tie a long string on the wire and tie a bottle of water or something heavy on the other side of the string and throw the object all the way cross, 2 get more people's help to drag the wire through the windows on the side. So I chose the second solution, because it's safer than the first, throwing a bottle all the way cross isn't gonna be definitely successful; but actually during the practical work, we used both solution, because one of the studio was locked and we couldn't use the window, and the wire was stuck in the middle way, so we used the first solution to throw a bottle of water all the way to the other side.
Then after all the sketching and planning, I thought it'd be better to make a mock-up as a beginning to see what is looks like, and then try to improve more on the sketches and plans, so it'd be perfectly planned.


I created a small cube with the thin wires and tapes as the films in the grid layout on each 6 side.
Got pretty satisfied with the mock-up, then it's time to start the practical work.

Here they are, 12 wires 80cm wires to create a cube

18 more wires to add films with for the grid layout throughout the cube


The finished cube with12 wires


Films in wires


Time to install the film striped in the cube, half way done


Done, time to hang the cube!
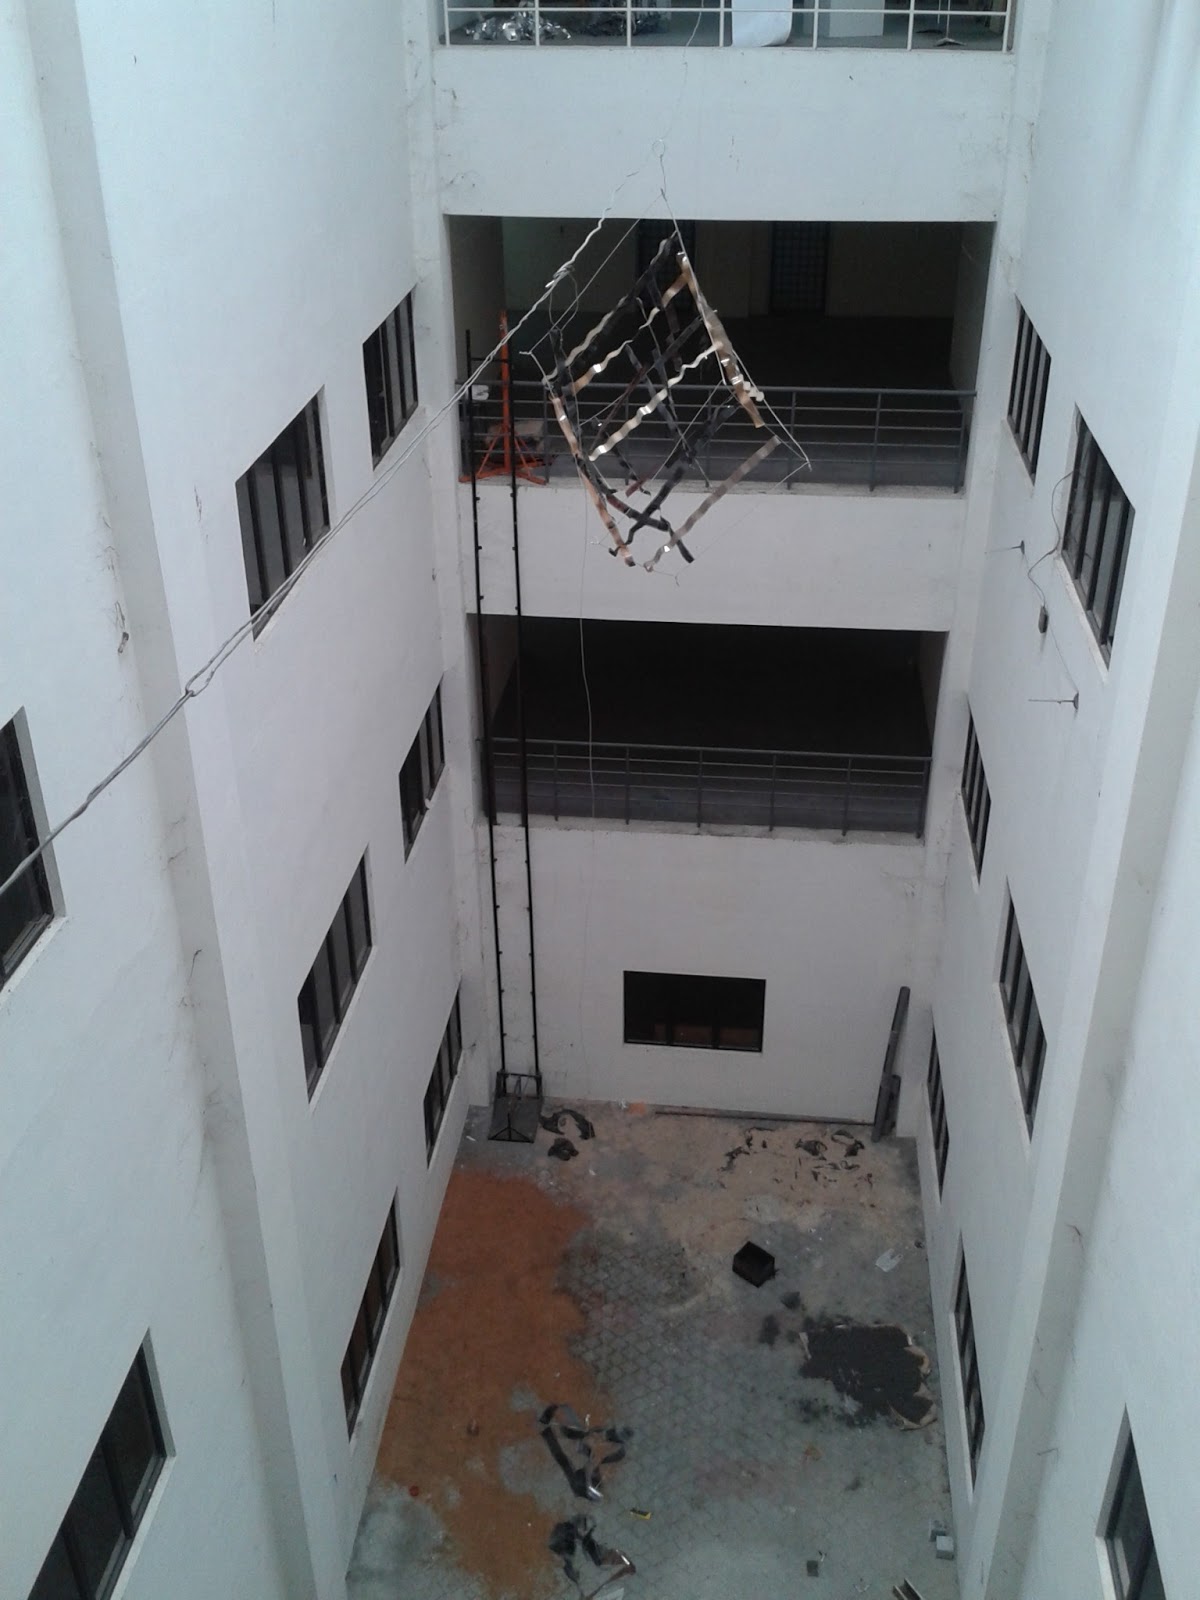


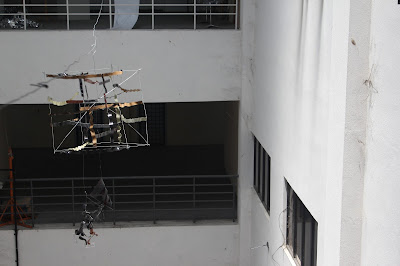
So I hung the cube in the middle of the atrium with lots of people's help, and there it is, and there are 2 small parts from the previous "Memory" installation on the sides next to the cube.
But after all, I still think the installation needs a bit more development by making the cube more stable and look more of a cube, and the 2 small parts on the sides next to the cube don't look like they are together, because the distance between them are too far, so I decided to try to get the cube back and more more wires in the cube to make it more stable, and hang the 2 small parts together on the cube, although it was really hard to get the cube back, we connected 2 broom sticks with tapes and stuck a wire hook on one side and dragged the cube back carefully.

One wire has been installed

The second one has been installed

the wires are connected by a ling thin wire

Added the third one to make the cube the stablest.


Finished up, time to hang it.
So this is the final installation art- Memory in Grid system, hope you like it.
No comments:
Post a Comment